If you’ve ever crawled under a car and knocked on what looks like solid metal only to have your knuckle punch through a crunchy orange flake, you already know rust doesn’t ask permission. Rust is the electrochemical process (metal reacting with oxygen and moisture to form iron oxide) that quietly destroys vehicles from the bottom up — starting at the chassis (the structural frame under the car), wheel wells, floor pans, and anywhere that holds road salt or water. The good news: corrosion protection is one of the highest return-on-investment things you can do to a vehicle, whether it’s a daily driver you want to keep another decade or a restoration build you’re putting real money into. This guide is for the person who’s past “just spray some rustproofing and call it a day” and wants to understand which products do what — and how to layer them for a result that actually holds up.
By the time you finish reading, you’ll know how rust reformer, chassis primer, and undercoating (rubberized or otherwise) each fit into a protection system — and you’ll have a clear decision rule for which approach makes sense given your substrate condition, budget, and end-use.
The Three-Layer Framework: Why One Product Is Never Enough
This is the mistake that bites most intermediate builders: treating corrosion protection as a single-step event rather than a layered system. Think of it like topcoat work — you wouldn’t skip sealer and spray color straight onto bare metal. The same logic applies here, just underground and under pressure.
Layer 1 — Chemical treatment (rust reformer): Addresses existing oxidation at the substrate level. Products in this category — Rust-Oleum Rust Reformer, POR-15 Metal Prep, and Eastwood’s Rust Converter — use tannic acid or phosphoric acid to convert iron oxide into a more stable iron phosphate compound. The resulting surface is less reactive and far more receptive to topcoats. I-CAR’s Corrosion Protection Procedures module is explicit on this point: chemically converting existing rust before coating is not optional if you want the coating to adhere long-term. Mechanical removal alone leaves microscopic rust pockets in surface texture that acid conversion closes.
Layer 2 — Chassis primer (epoxy or etch primer): This is the anchor coat. A two-part epoxy primer — SPI Epoxy Primer, Eastwood Epoxy Chassis Primer, or PPG DP series — provides the highest barrier adhesion of any primer category. Per published technical data sheets, a properly applied two-part epoxy primer achieves film builds of 3–6 mils (thousandths of an inch) and resists moisture vapor transmission at a level that single-stage rattle-can primers cannot match. Etch primers (one-part phosphoric acid-based) are a step below epoxy in barrier performance but are viable for tightly budgeted projects or areas with zero existing rust. The key spec to check: corrosion resistance rating in hours per ASTM B117 salt-spray testing, listed on every reputable primer’s technical data sheet.
Layer 3 — Undercoating or topcoat protection: This is the sacrificial exterior layer — the one doing the daily work against road debris, water, and thermal cycling. Here’s where the category splits meaningfully.
Undercoating Types: Rubberized vs. Heat-Ceramic vs. Asphalt — Pick the Right Tool
The word “undercoating” gets used for at least three chemically distinct product categories, and conflating them costs money and performance.
Rubberized undercoating (3M Rubberized Undercoating, Rust-Oleum Automotive Rubberized Undercoating, Evercoat Fiber-Glass Coat) creates a thick, flexible membrane that absorbs road impact and seals moisture. Flexibility is the point — rubberized coatings move with thermal expansion and contraction without cracking. The trade-off: they typically max out around 250°F continuous heat tolerance, which means they’re not for exhaust-adjacent panels or catalytic converter heat shields. Owners on long-run forum archives consistently report rubberized coatings outlasting 8–10 years in northern climates when applied over properly primed surfaces. Applied over bare metal or poorly converted rust, that number collapses to 2–3 years as moisture intrudes under the film.
Heat-ceramic undercoating (Eastwood Extreme Chassis Black Ceramic, Rust-Oleum High Heat) is formulated for areas that see exhaust proximity — typically rated to 500°F–1,200°F depending on formulation. These are paint-film products, not thick rubberized membranes, so they don’t provide the same impact absorption. Use them where heat is the threat; use rubberized where mechanical impact is the threat. Using them interchangeably is one of the most common category errors this editorial team sees in build documentation from custom shops.
Asphalt or bitumen-based undercoating (the classic black spray that smells sharp and dries hard) is the legacy product most factory undercoating replicated. It’s the cheapest option per square foot. The documented liability: asphalt undercoating can trap moisture beneath it as it ages and micro-cracks, accelerating the rust it was supposed to prevent. Motor Trend’s editorial coverage of chassis restoration notes that professional restorers almost universally remove original factory asphalt undercoating before treating metal underneath — it hides problems rather than solving them.
By the Numbers
| Product Category | Typical Cost (2026) | Heat Tolerance | Impact Absorption | Best Use Case |
|---|---|---|---|---|
| Rubberized undercoating (rattle can) | $8–$18/can | ~250°F | High | Floor pans, wheel wells, rockers |
| Epoxy chassis primer (2K, quart kit) | $45–$90/kit | ~200°F | Low (base layer only) | Anchor coat on bare/treated metal |
| Heat-ceramic coating | $18–$35/can | 500–1,200°F | Low | Exhaust proximity areas |
| Rubberized undercoating (spray-on, gallon) | $35–$65/gallon | ~250°F | High | Full chassis respray, shop gun application |
| POR-15 chassis black (quart) | $30–$55/quart | ~250°F | Moderate | Over rust-reformed surfaces |
Rust Reformer in Detail: What It Is, What It Isn’t
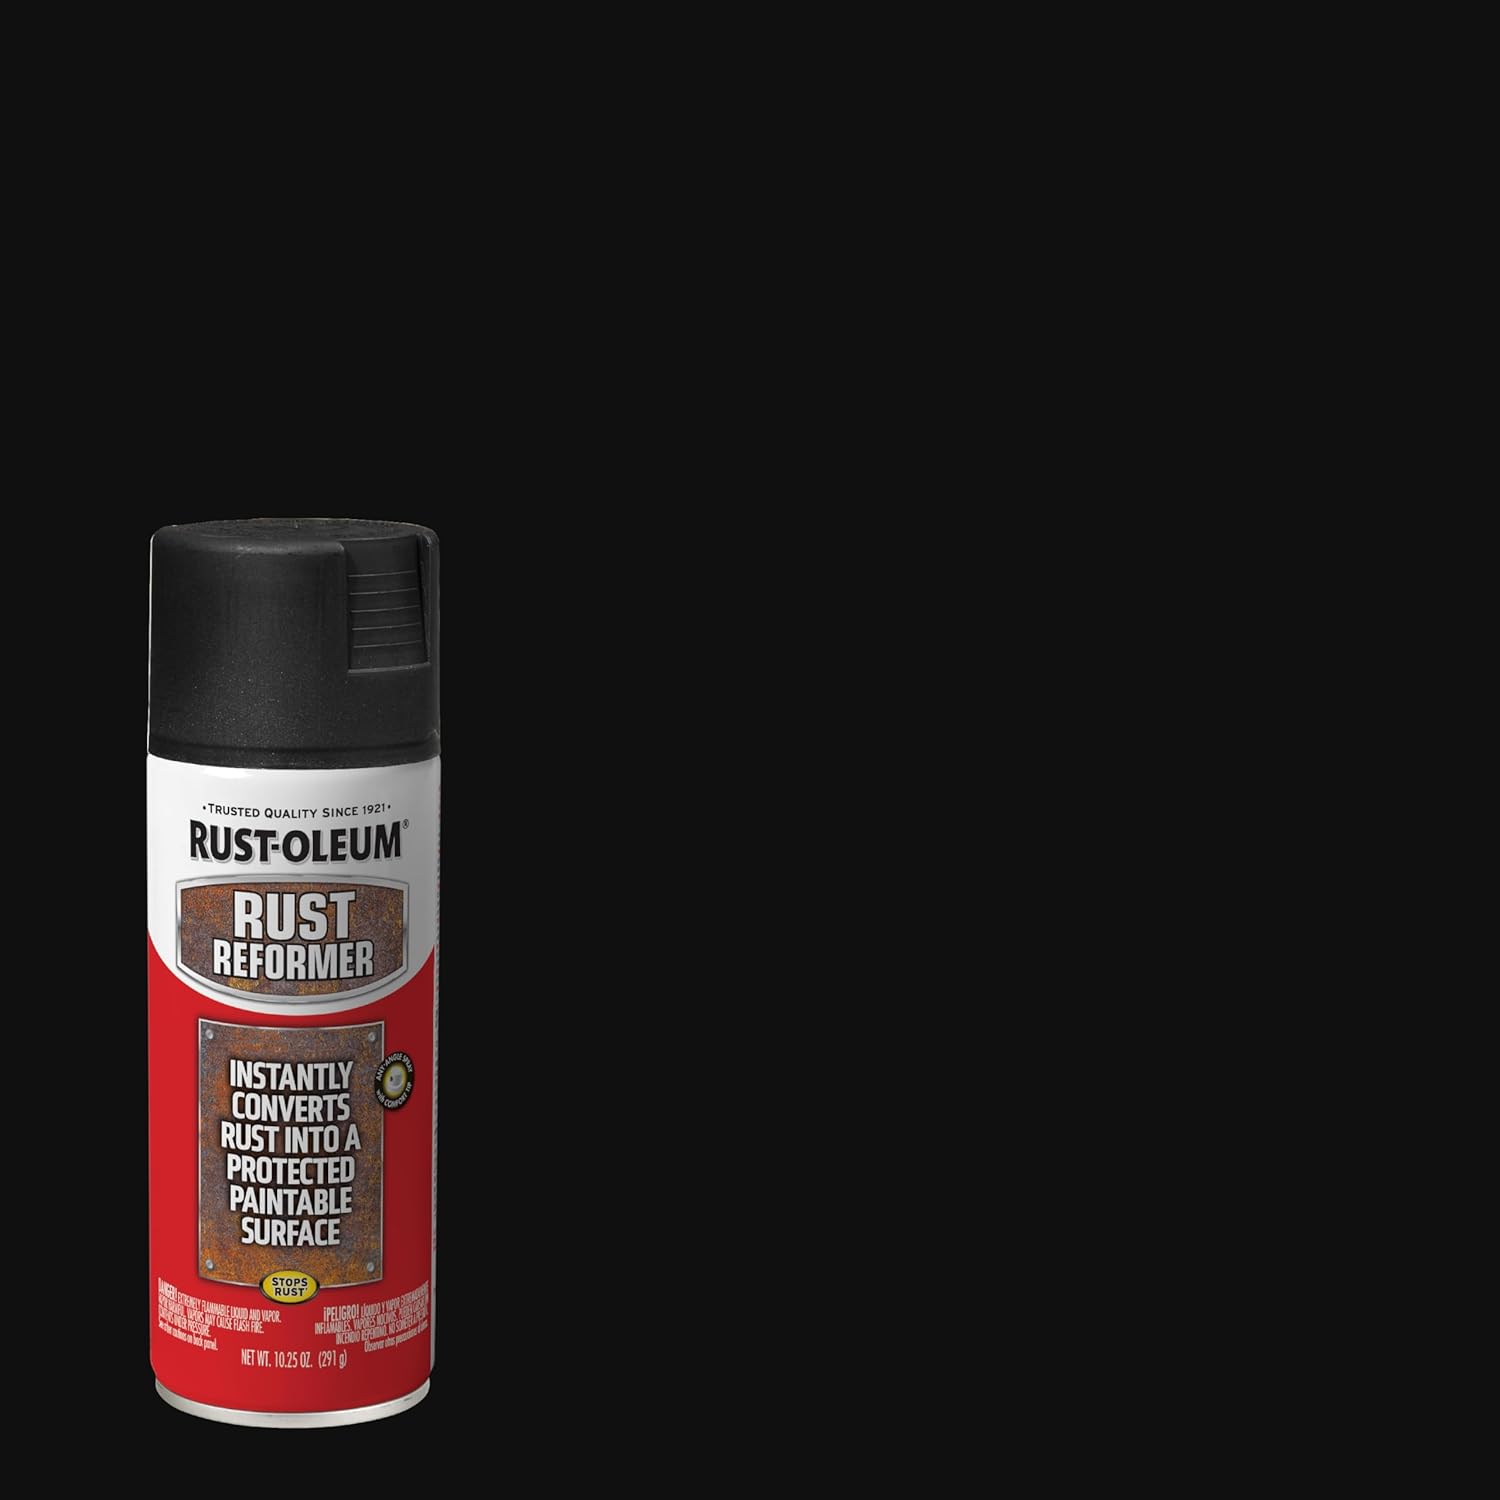
Rust reformer is not a topcoat. Say it again: rust reformer is not a topcoat. This one misconception causes more re-dos than almost any other in underside work. Products like Rust-Oleum Rust Reformer, Corroseal Water-Based Rust Converter, and POR-15 Metal Prep are surface preparation chemistry. Their job is to change the chemical nature of iron oxide so primer has something stable to bond to.
The mechanism: phosphoric acid (or tannic acid, depending on formulation) reacts with iron oxide (Fe₂O₃) to form iron phosphate, which is a harder, less reactive compound that provides mechanical tooth for primer adhesion. The EPA’s guidelines on surface coating for mobile equipment (40 CFR Part 63) indirectly reinforce why this matters — VOC-compliant coatings applied over inadequately prepared surfaces have sharply reduced service lives, which drives re-coating frequency and emissions. Good prep is good environmental practice.
What rust reformer cannot do: It cannot bridge through heavy scale or flaking rust. If you can pick at the rust with a screwdriver and it comes off in layers, mechanical removal (wire wheel, needle scaler, or media blasting) comes first. PPC Pro’s chassis coating application standards specify that loose scale must be mechanically removed to a minimum SP-3 (hand-tool cleaned) or ideally SP-6 (commercial blast) surface standard before chemical conversion. Reformer works on the tightly adhered rust that remains after mechanical prep — not as a substitute for it.
Application windows matter more than most people realize: most rust reformers require a working temperature above 50°F and a dry surface. Apply below that threshold and the acid reaction slows significantly, leaving conversion incomplete. Let it fully cure (typically 24 hours) before priming.
Putting the System Together: The Decision Rules
If you’re standing at the parts counter or loading a cart and trying to figure out which products you actually need, here’s the honest framework:
If the metal is clean bare steel (freshly blasted or new fabrication): Skip rust reformer — there’s nothing to convert. Go straight to a two-part epoxy primer, then your choice of undercoating. This is the ideal starting point and the one that gives you maximum adhesion because you’re building on clean metal. SPI Epoxy Primer and Eastwood’s 2K Epoxy Primer are the most-cited options in professional shop documentation reviewed for this article.
If there’s light surface rust (orange blush, no pitting, metal still solid): Apply rust reformer, let it cure, then proceed to epoxy primer. You can skip the mechanical step if the rust is truly surface-level, but a quick pass with a red scuff pad before reformer application gives the acid better surface contact.
If there’s moderate rust (pitting, but metal is structurally solid): Mechanical prep to SP-3 minimum, then rust reformer, then epoxy primer. Budget at least two coats of epoxy primer to fill minor pitting. Hot Rod Network’s chassis prep editorial notes that professional builders often apply a thin coat of filler primer over the epoxy in heavily pitted areas before final undercoating to prevent water pooling in surface texture.
If there’s structural rust (holes, compromised metal): Coating is not your first move. Fabrication or panel replacement is. No coating system of any kind restores structural integrity. Coat after the metal is sound.
If heat is a variable (near exhaust, trans tunnel, cats): Epoxy primer first, then a heat-ceramic topcoat rated for your specific temperature zone. Do not use rubberized undercoating in these areas — thermal cycling will cause it to soften, bubble, and eventually delaminate. Auto Body News’ 2025 compliance coverage highlights that heat-related undercoating failures are among the most common warranty callbacks in restoration shop work.
A Note on VOC Compliance and Waterborne Options
As of 2026, EPA and state-level regulations (particularly in California, New York, and the Pacific Northwest) have tightened VOC (volatile organic compound) limits for surface coatings applied in regulated shop environments. If you’re in a state with stringent air quality rules, waterborne chassis primers — PPG Envirobase-compatible primer systems, BASF waterborne undercoat primers — are worth evaluating. Per EPA 40 CFR Part 63, solvent-borne coatings applied in commercial facilities are subject to increasingly strict emissions reporting. For home-garage applicators, regulations are less restrictive, but waterborne products have also improved dramatically in adhesion and salt-spray resistance over the past five years. The performance gap between compliant waterborne and traditional solvent-borne chassis products has largely closed at the primer layer — though rubberized topcoats remain predominantly solvent-based for flexibility performance reasons.
The Short Version, If You’re Mid-Project Right Now
- Rust reformer → Epoxy primer → Rubberized undercoating is the standard three-layer system for non-heat areas. It works. It’s not overcomplicated.
- Swap rubberized for heat-ceramic anywhere within 6 inches of exhaust components.
- Don’t skip the epoxy primer layer to save $40. That’s the anchor. Everything else depends on it holding.
- Use the [Mix Ratio Calculator] before you mix any two-part epoxy primer — getting the hardener ratio wrong wastes product and compromises the cure. Check the [Pot Life Cheat Sheet] for your working temperature before you start; epoxy primer pot life drops sharply above 80°F.
- If you’re sourcing for a full chassis respray, run the numbers through the [Cost-Per-Panel Calculator] — the jump from rattle cans to a spray-gun quart kit almost always pencils out favorably at four or more panels.
The best rust prevention system is the one that’s actually applied correctly, in layers, with proper prep underneath. Get the chemistry right first, and the topcoat is just the final argument.