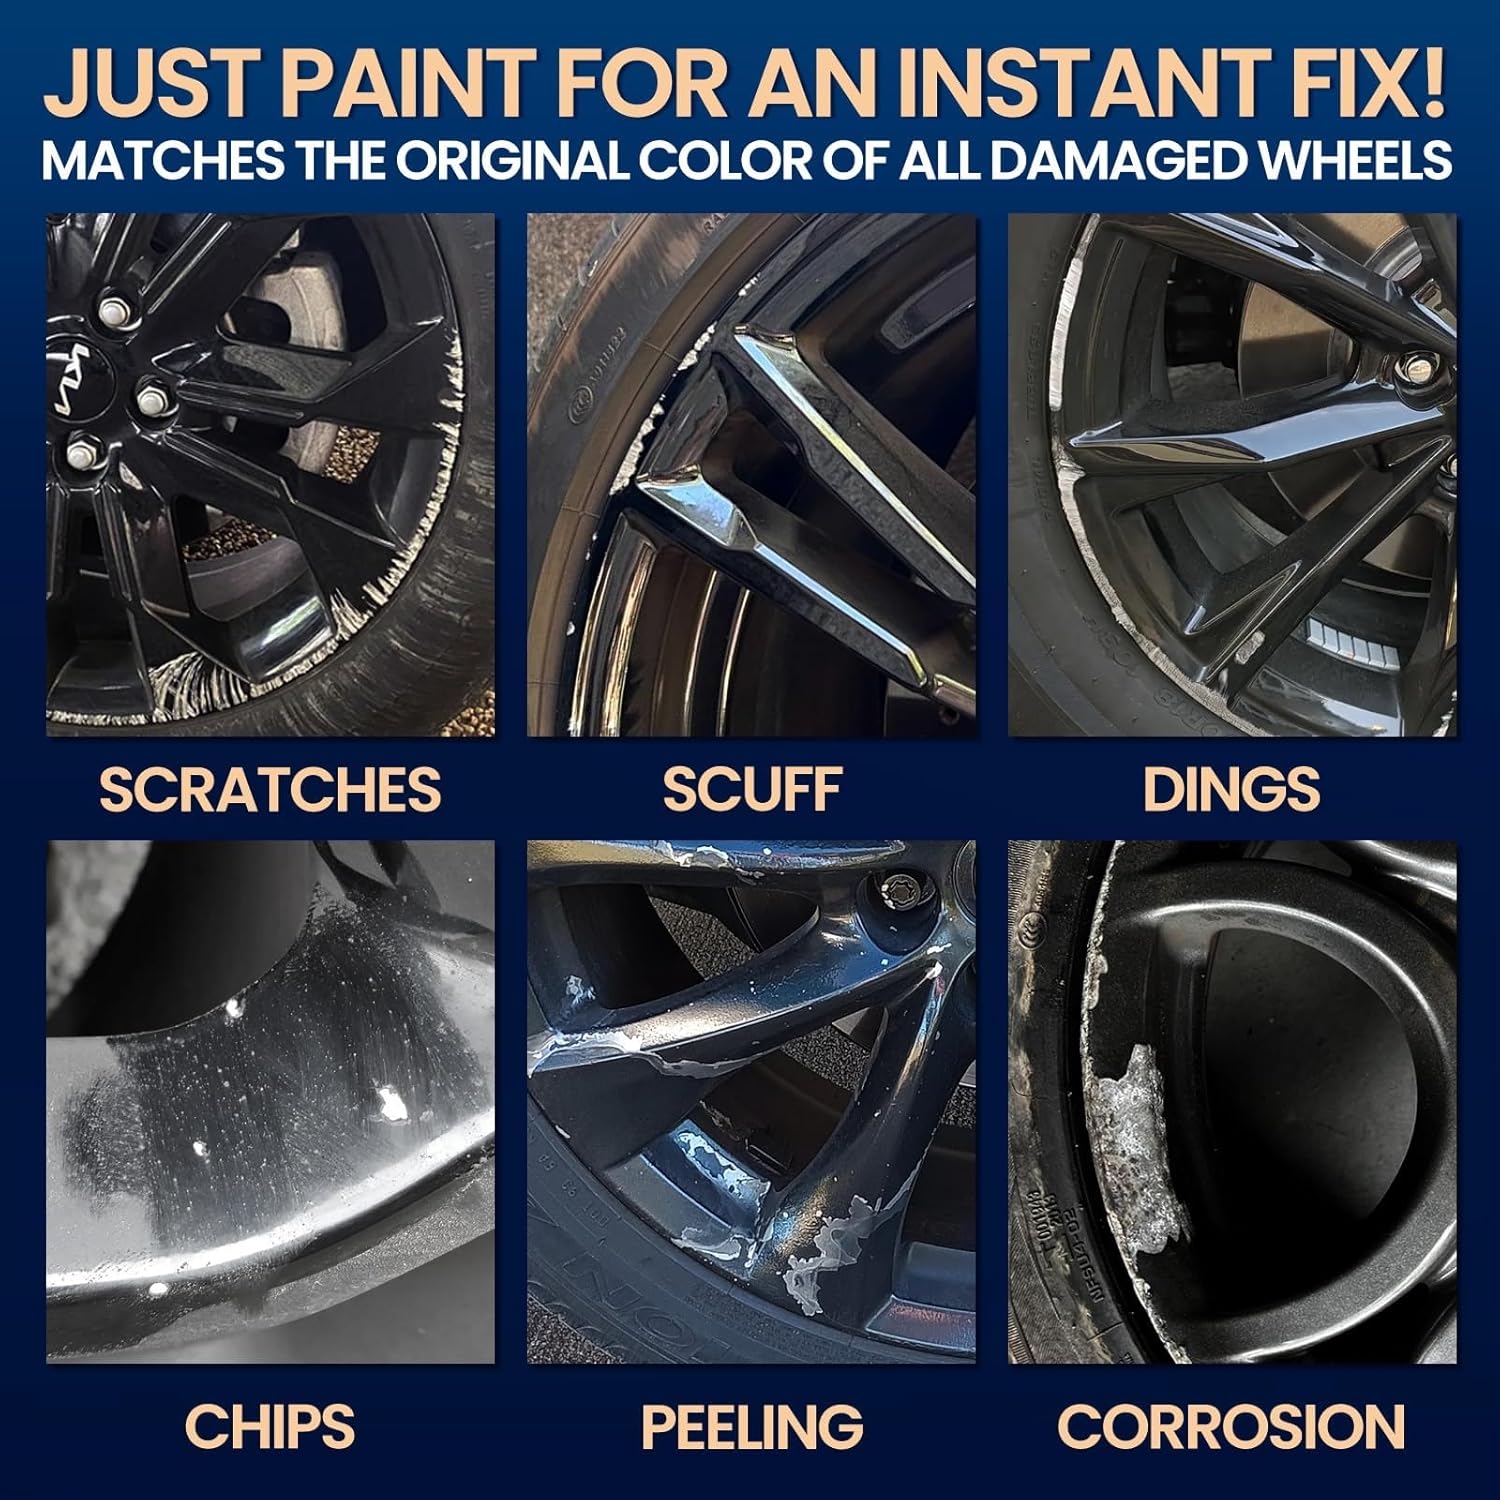
Curb rash is exactly what it sounds like: the scrapes, gouges, and scuffs your wheel picks up when a curb wins a game of inches. The aluminum or steel rim — the rigid ring your tire mounts onto — takes the hit, and the factory paint or clear coat chips, scratches, or grinds away. Left alone, bare metal oxidizes fast, especially in road-salt climates, and what starts as cosmetic damage turns structural. The good news is that wheel refinishing is one of the most accessible repairs in automotive body work — you don’t need a spray booth or a $4,000 gun to get a result you’re proud of. This guide covers every tier of repair, from a targeted rattle-can spot fix to a full bare-metal respray with urethane clear, including the products, prep sequences, and cost-per-wheel math that actually matter at each level.
Whether you’re a first-timer trying to save $200 at the tire shop or a semi-pro building a portfolio wheel set for a client’s show car, there’s a decision framework here for you. We’ll define every product type as we go, show the tradeoffs explicitly, and land on clear “if X, then Y” rules so you leave with a plan, not just information.
Know What You’re Dealing With: Damage Assessment First
Before you spend a dollar, classify the damage. This single step determines whether you need a $12 fix or a $180 one.
Cosmetic scratch (paint layer only): The metal underneath is intact. You can feel the scratch with a fingernail but it doesn’t catch. This is a rattle-can or touch-up pen job.
Curb rash with metal exposure: The paint is gone and bare aluminum or steel shows. Light gouging is possible. You need primer, paint, and clear — three-stage minimum, even from a can.
Bent or cracked rim: Stop. No amount of paint fixes a structural wheel failure. Per I-CAR’s Wheel Refinishing Procedures and Material Compatibility Guide, bent or cracked aluminum wheels must be evaluated by a certified technician before any refinishing work begins. Painting over a cracked rim is a safety issue, not an aesthetic one.
Full oxidation / peeling clear coat across the face: Common on older OEM clear-coated wheels, especially silver alloys from the early 2010s. This is a strip-and-respray job. Spot repairs on heavily oxidized surfaces will flash — meaning they’ll show a visible edge where old meets new — within one wash cycle.
The Three Repair Tiers: Products, Cost, and Honest Tradeoffs
Tier 1 — Spot Repair: Rattle Can or Touch-Up Pen ($8–$35 per wheel)
Best for: Single cosmetic scratches on a daily driver where you want invisible-enough, not showroom perfect.
The workhorse products here are aerosol wheel paints from Dupli-Color (their Wheel Coating line), Rust-Oleum’s Automotive Wheel Primer and Paint system, and Plasti-Dip for temporary coverage. MotorTrend’s refinishing feature notes that aerosol wheel coatings have improved significantly in chip resistance since reformulations in the early 2020s, but they remain susceptible to brake dust heat cycling if not top-coated with a compatible clear.
The prep sequence that separates a good rattle-can job from a peeling one:
- Degrease with a wax-and-grease remover (not dish soap — it leaves residue that kills adhesion).
- Sand the damaged area with 400-grit wet/dry, feathering 2–3 inches past the bare metal edge.
- Apply self-etching primer — an acid-activated primer that bonds to bare metal chemically, not just mechanically. Eastwood’s self-etching aerosol primer is a documented go-to in aggregated shop reviews for this step. Two light coats, five minutes apart.
- Scuff the surrounding painted area lightly with 800-grit to give the new paint something to grip.
- Apply color in 3–4 thin passes, 10–12 inches from the surface. Thin coats prevent sag and orange peel (a bumpy texture that looks like citrus skin).
- Clear coat within the color’s recoat window — typically 30–60 minutes for aerosols in 70°F / 50% RH conditions. Miss that window and you’re sanding before you clear.
Tradeoff: Color matching is the hard part. OEM wheel silver is not one color — it’s 40+ variants across makes. Use our [Cost-Per-Panel Calculator] to decide whether the color-match research time justifies the savings over a shop respray. For most daily drivers, a close-enough silver with a gloss clear reads fine at 10 feet. For a show wheel, it won’t.
Tier 2 — Full Wheel Respray: HVLP or Gravity-Feed Gun, Two-Stage System ($80–$220 per wheel in materials)
Best for: Collectors, custom builders, anyone doing all four wheels as a matched set, or restoring a wheel where the factory finish is failing across the entire face.
This is where the decision framework matters most because the material choices compound quickly.
By the Numbers — Typical Mid-Tier Two-Stage Wheel Respray:
| Stage | Product Example | Coverage | Approx. Cost |
|---|---|---|---|
| Etch primer | SPI epoxy primer (2K) | 2 wheels/qt mixed | $28–$40/qt kit |
| Basecoat | Dupli-Color or HOK Shimrin basecoat | 1–2 wheels/quart | $45–$95/qt |
| Urethane clear | Sherwin-Williams MS Clear or SPI Universal | 2–3 wheels/qt | $55–$110/qt |
Two-stage means basecoat (color, no gloss) followed by clear coat (gloss and protection, no color). The basecoat is often referred to as “BC” in shop language; the clear is “CC.” Together they’re “BC/CC.” The alternative, single-stage, puts color and gloss in one product — faster, but harder to polish out later and less durable under brake-heat cycling, which is why I-CAR’s refinishing procedures recommend two-stage systems for aluminum alloy wheels exposed to repeated thermal stress.
Reducer ratios matter more on wheels than on body panels. Wheels run hotter than panel surfaces — sustained temperatures of 200°F–400°F during hard braking are documented in motorsport engineering literature. A fast reducer (one formulated for cold or indoor conditions) can leave solvents trapped in the film that off-gas under heat and cause blistering. For shop environments above 75°F or where wheels will see track or performance use, use a medium or slow reducer matched to your paint system’s published temperature table. Cross-reference our [Reducer & Hardener Ratio Chart] before you mix — the wrong ratio is the most common cause of premature clear coat failure on refinished wheels.
Pot life — the working time after you mix a two-component (2K) product — is critical here. A typical 2K urethane clear has a pot life of 45–90 minutes at 70°F. Once it begins to gel in the cup, applying it produces a textured, non-wetting film that won’t flow out. Spray within 30 minutes of mixing in warm conditions. See the [Pot Life Cheat Sheet] before your first mix.
Gun choice at this tier: For wheel-specific work, a 1.3mm fluid tip HVLP gravity-feed gun is the community standard. It gives enough atomization for fine metallics without wasting material on overspray. TCP Global’s GT3500 and the Eastwood HVLP concours guns show up consistently in practitioner-level reviews as strong value propositions in the $60–$130 range for dedicated wheel work.
Tier 3 — Powder Coat or Professional Liquid Refinish ($150–$400+ per wheel, outsourced)
Best for: Show builds, OEM restoration, structurally repaired wheels, or any job where you need a finish that’s definitively better than what you can produce in a garage environment.
Powder coating — a process where electrostatically charged dry paint particles are applied and then baked onto the metal at 400°F — produces a film thickness and hardness that liquid paint can’t match in a single application. It’s not a DIY option without a dedicated curing oven, but it’s worth knowing the ceiling: the EPA’s NESHAP auto body regulations note that powder coat operations are generally exempt from volatile organic compound (VOC) restrictions that apply to solvent-borne liquid systems, which is why larger shops increasingly default to it for wheel work.
Liquid professional refinish at this tier means systems like BASF Glasurit waterborne basecoats paired with a 923-series clearcoat, or PPG Envirobase HP. Per the BASF Glasurit Series 90-Line Basecoat product data sheet, these systems are engineered for film builds and color accuracy that meet OEM panel standards — and they’ll perform identically on a wheel face if the prep is correct.
The decision math is straightforward: if four wheels at a powder coat shop cost $600–$900 and you’re building a $40,000 show car, that’s a rounding error. If you’re repairing one scraped wheel on a 2019 Civic, that math runs the other way.
The Prep Sequence That Decides Everything
Across every tier, the same principle holds: paint fails at the prep stage, not the spray stage. Eastwood’s technical bulletin on wheel coatings explicitly states that adhesion failures on refinished aluminum wheels trace to inadequate degreasing and improper etching of the substrate in the majority of warranty returns they analyze.
The non-negotiable checklist:
- Remove the tire if you’re doing more than a spot touch-up. Overspray on a tire sidewall is the hallmark of a rushed job, and masking a mounted tire well enough to spray an entire face is harder than pulling the wheel.
- Strip failing clear coat fully — don’t spot-prime over peeling clear. Wet-sand with 400-grit, then 600, until the transition from old paint to bare metal is gradual, not a cliff edge.
- Etch prime all bare metal — skip this step and you’ll be back in six months with lifting paint edges.
- Allow full flash time between coats — flash time is the waiting period that lets solvent evaporate before the next coat traps it. Rushing flash time is the single most common cause of solvent pop (tiny craters that appear as the clear cures).
The Decision Rule
If your damage is cosmetic, single-wheel, on a daily driver: rattle can with self-etching primer and a compatible aerosol clear. Budget $25–$45. Match the color code from your OEM wheel spec (often stamped inside the wheel well or on the door jamb sticker), use our [Cost-Per-Panel Calculator] to sanity-check the economics, and set your expectations appropriately.
If you’re doing all four wheels, have a gravity-feed gun, and can control your environment to 60–80°F: two-stage liquid system with 2K urethane clear. Budget $150–$220 in materials. Pull the wheels, strip failing finish completely, etch prime, and follow published reducer ratio tables for your specific ambient temperature. This is the tier where the [Reducer & Hardener Ratio Chart] and [Pot Life Cheat Sheet] pay for the five minutes it takes to read them.
If the wheels are structurally repaired, part of a show build, or you want a finish that outperforms what you can produce in a garage: price three powder coat shops locally, ask for a VOC-compliant liquid alternative quote, and treat the $200–$400 as part of the build budget. The finish ceiling you can reach with professional equipment, a curing oven, and a proper spray booth is simply higher than what’s achievable on a driveway.
Curb rash is recoverable at every budget level. The mistake isn’t starting small — it’s skipping prep to get to the spray faster. Do the prep right, match your product to your environment, and a set of wheels you’re proud of is genuinely within reach.